
LIGHTROOM GUIDE
Apply your PhotoMind XMP preset in Lightroom
Your PhotoMind report includes a downloadable XMP preset. Here is how to import it into Lightroom Mobile, Lightroom Desktop, Lightroom Classic or Camera Raw and apply it to your photo.
Short version: run a PhotoMind analysis, tap Download XMP, then import that file as a preset in Lightroom and apply it to the same photo. It is a starting point for your edit, not a finished edit.
What the XMP file contains
Every PhotoMind report ends with a Lightroom recipe. The Download XMP button turns that recipe into a standard Lightroom / Camera Raw preset file, built by a deterministic compiler from the report (the AI never writes the file itself).
- Global adjustments: light, color, white balance, HSL/color mixing, effects and detail settings from the recipe.
- Supported local masks when the report includes them: Subject, Sky, Background, Linear Gradient, Radial Gradient and Brush, including add/subtract combinations of these.
- Not included: crop, healing/cleanup and mask types Lightroom cannot import reliably yet. Those stay as written guidance in the report.
The preset name includes your photo's file name, so presets from different reports are easy to tell apart.
Step 1: download the XMP from your report
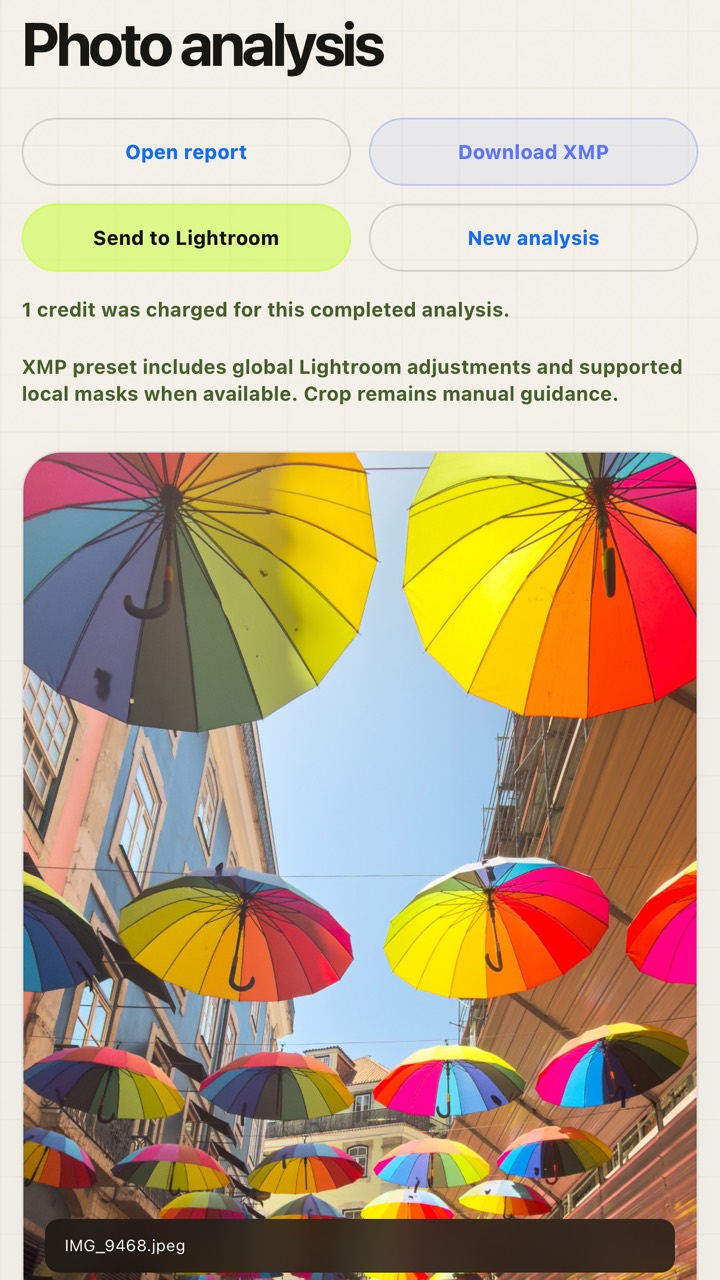
- Finish an analysis. When the report is ready you will see the report actions at the top.
- Tap Download XMP. On iPhone the file is saved to the Files app (usually Downloads); on Android it goes to Downloads; on a computer it goes to your downloads folder.
- Keep the file name ending in
.xmp. If a browser adds.txt, rename it back to.xmp.
Step 2: import and apply the preset
Menu names can differ slightly between Lightroom versions, but the path is the same idea everywhere: open the presets area, choose import, pick the .xmp file.
Lightroom Mobile (iPhone, iPad, Android)
- Open the photo you analysed in Lightroom and go to Edit.
- Open Presets from the bottom toolbar.
- Tap the three-dot menu in the presets panel and choose Import presets.
- Pick the PhotoMind .xmp file from Files / Downloads.
- Tap the imported preset to apply it, then review the result.
Lightroom Desktop (Lightroom cloud on Mac or Windows)
- Open the photo in the Edit view.
- Open Presets, click the three-dot menu next to the presets heading and choose Import Presets (or use File → Import Profiles & Presets).
- Select the .xmp file and click the imported preset to apply it.
Lightroom Classic
- Select the photo and switch to the Develop module.
- In the Presets panel, click + and choose Import Presets (or use File → Import Develop Profiles and Presets).
- Select the .xmp file and click the preset to apply it.
Adobe Camera Raw / Photoshop
- Open the photo in Camera Raw and go to the Presets tab.
- Use the three-dot menu and choose Import Profiles & Presets.
- Select the .xmp file and apply the preset.
Step 3: review the edit
- Check the masks. AI masks such as Subject, Sky and Background are recalculated by Lightroom on your photo, so look at each one and refine it if needed.
- Adjust the strength. If your Lightroom version shows an Amount slider for presets, use it to make the whole look gentler or stronger.
- Finish by eye. Apply the crop and cleanup advice from the report manually; they are not part of the preset.
- RAW reports: apply the preset to the original RAW file, not to an exported JPEG, so the settings land on the file they were planned for.
- Use the same file type you analysed. White balance works differently in RAW and JPEG files: a JPEG/HEIC preset sets Temp and Tint as relative changes, while RAW files use absolute Kelvin. A preset from a JPEG report applied to a RAW file can jump the white balance to an unexpected Kelvin value. For RAW photos, analyse the RAW file; presets from RAW reports keep your camera's white balance and leave Temp/Tint as manual advice.
Why the XMP is not applied automatically
PhotoMind's Lightroom integration is approved by Adobe, and Send to Lightroom can export your original photo into a PhotoMind Edits album. Adobe's Lightroom API does not currently let external apps attach develop settings to that photo, so the edit settings travel as the XMP file and you apply them yourself. It takes a few seconds and keeps you in control of the final look.
Troubleshooting
The preset does not appear after import
Look for a new preset group (often under user or imported presets) and make sure the file still ends in .xmp. Re-download it from the report if needed.
The masks look different from the report
Lightroom recalculates AI masks for the photo it is applied to. Refine the mask edge, or lower the mask's adjustments if the effect is too strong.
The white balance looks wrong after applying the preset
This usually means a preset from a JPEG report was applied to a RAW file (or the reverse). Re-apply the preset to the same file you analysed, or reset Temp/Tint and follow the white balance advice in the report.
The edit looks too strong or too weak
Use the preset Amount slider if available, or adjust Exposure, Contrast and color by small steps. The report explains why each change was suggested.