
LIGHTROOM GUIDE
Send your photo to Lightroom
Connect your Adobe account once, then send the original photo from any report straight into a PhotoMind Edits album in Lightroom.
What it does: exports your original photo to an album called PhotoMind Edits in your Lightroom cloud catalog. The edit settings come from the XMP preset, which you apply in Lightroom.
Connect your Adobe account (once)
- Sign in to PhotoMind with your beta account.
- Open Account from the menu with your email at the top of the app.
- Find Adobe account and tap Connect. You are sent to Adobe to sign in and approve access.
- Return to PhotoMind. The Account panel shows that your Adobe account is connected.
PhotoMind's Lightroom integration is reviewed and approved by Adobe. Your Adobe tokens are stored encrypted on the server and are never shown in the browser.
Send a photo
- Run an analysis and keep the photo selected in the same browser session.
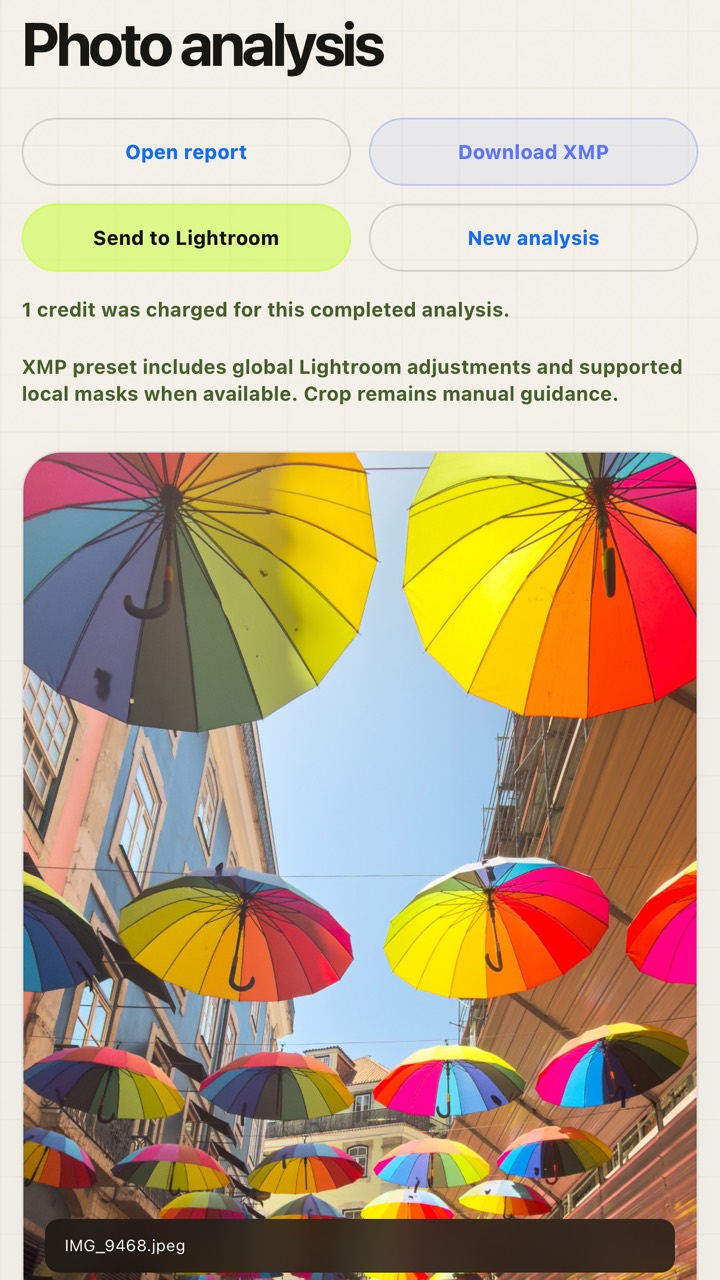
- Tap Send to Lightroom in the report actions.
- Wait for the confirmation. PhotoMind uploads the original file, checks that Adobe received it intact, and adds it to the PhotoMind Edits album.
- Open Lightroom (Mobile or Desktop), find the photo in PhotoMind Edits and apply the downloaded XMP preset.
JPEG, RAW and reports from history
- JPEG and supported RAW files can be sent while the original is still selected in the browser.
- Reports opened from history: PhotoMind does not keep your original upload, so for RAW reports it can only send the retained JPEG preview, clearly named
-photomind-preview.jpg. For full quality, apply the XMP to your original RAW file. - Send to Lightroom works with your own reports and your own Adobe account only.
If something goes wrong
"Reconnect Adobe Lightroom from Account"
Your Adobe authorization expired or was replaced (for example, the same Adobe account was connected from another PhotoMind account). Open Account and connect again.
The photo arrived but without the edit
That is expected today: Adobe does not let external apps attach edit settings. Apply the XMP preset in Lightroom.
I use Lightroom Classic
Send to Lightroom targets your Lightroom cloud catalog. In Lightroom Classic, the simplest path is to import the XMP preset and apply it to the original file on your computer.